When it comes to topwater flies for panfish, anything goes. That is one of the things I love about warm water fly fishing. Panfish, bass, and other warmwater predators like pickerel and pike are not concerned that your offering is not an exact replication of the last thing they ate. If it looks alive and can fit in their mouth, they will often have a go at it.
The Triangle Bug is an example of a fly that resembles nothing in the natural world, but is incredibly effective. It is my number one topwater pattern for panfish.
The lack of demand for realism in fly patterns is one thing that sets warmwater fly fishing apart from trout fishing. We are far more concerned with matching the hatch and delivering a proper presentation in the trout world. Warm water fly fishing is a more rough and tumble affair. Fly selection based on whim and fancy can be just as effective as attempting to match what the fish are currently eating.
Not many things eaten by a bass or panfish are as brightly colored as these flies but they work all the same.
Looking into one of my warmwater fly boxes, you see a lot of whim and fancy. Garish colors like chartreuse, fluorescent yellow, bright pink don't often occur in the natural world. Based on the contents of my fly boxes, you would think that panfish live in a world filled with psychedelic colors. There is no doubt that these brightly colored, un-natural looking flies work. If they didn't, they would not take up so much room in my fly boxes. However, if you look close enough, you will find more natural-looking flies mixed in with that kaleidoscope of colors.
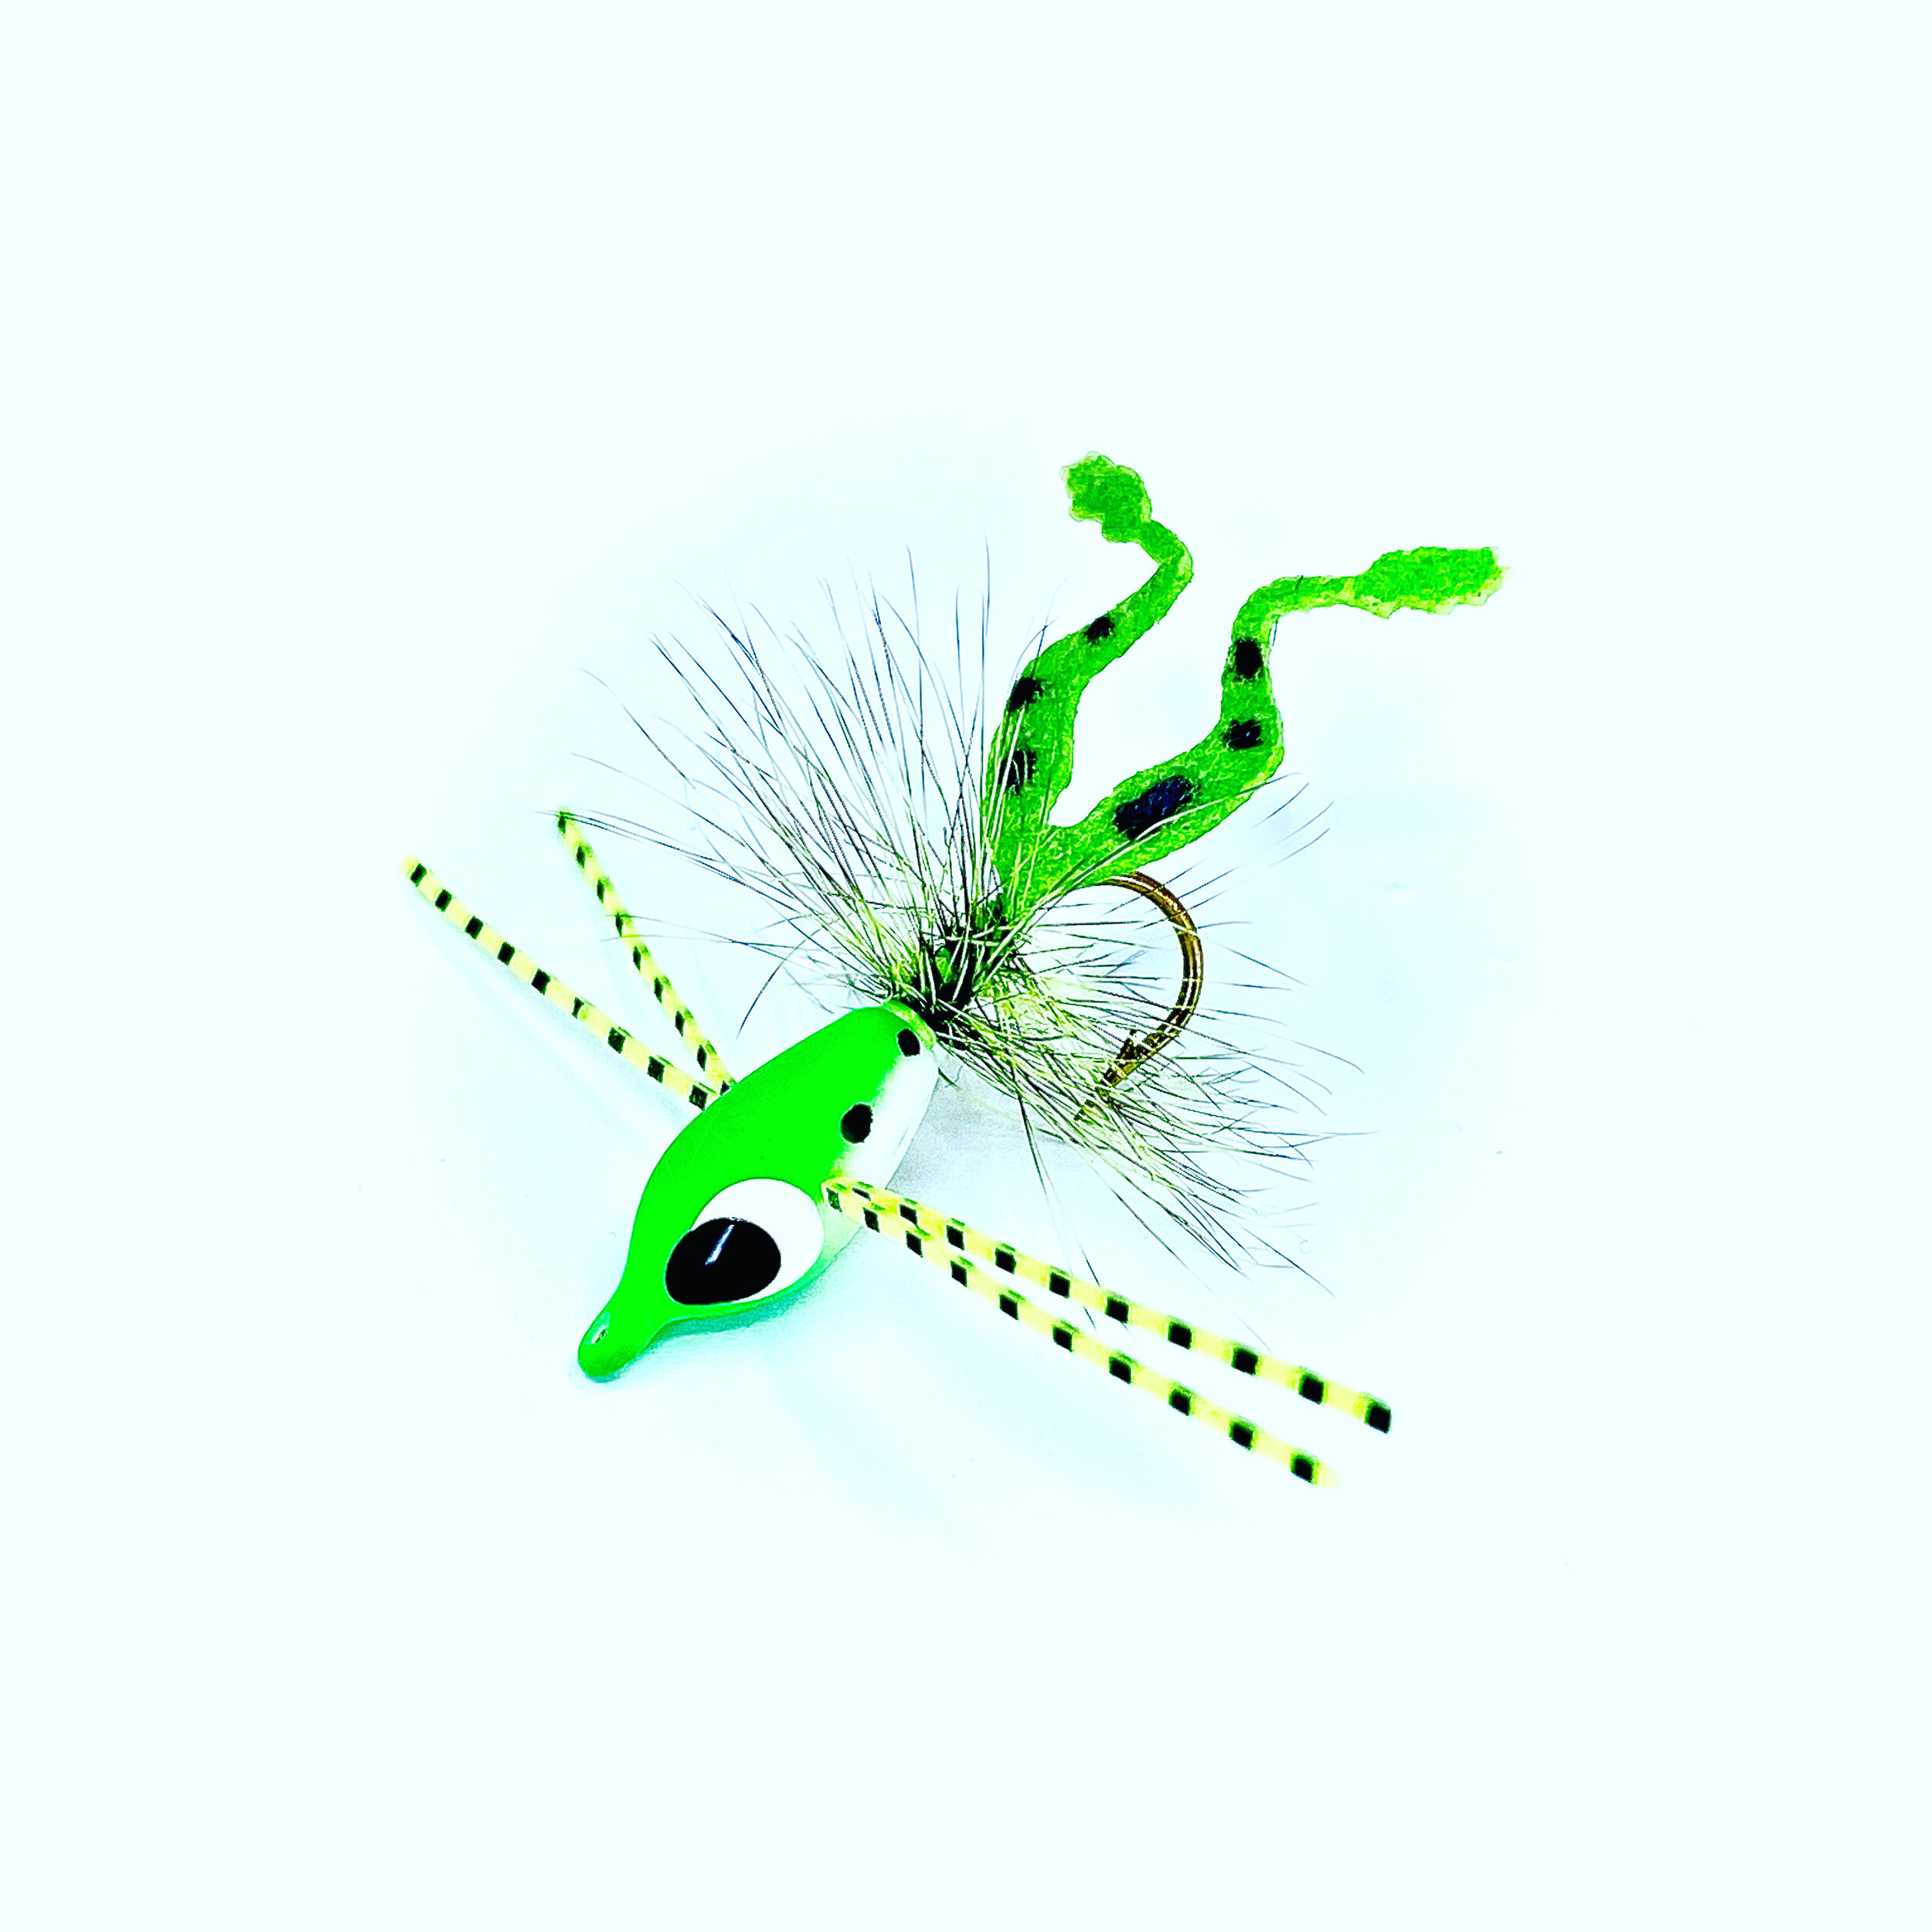
Maybe the decades spent chasing trout keep me coming back to more natural-looking flies that imitate the things that panfish eat. I enjoy tying and fishing patterns like damselflies and dragonflies, two essential food items for warm water fish. Also mixed in with the odd-looking foam and hair creations, you will find a smattering of flies that you can readily recognize as terrestrial insects like hoppers, beetles, and ants. The natural-looking flies that stand out the most are the frogs. My frog patterns are instantly recognizable as the amphibians that are meant to represent.
The Northern Cricket Frog is technically a tree frog, but this diminutive amphibian prefers to stay close to water. (photo credit Wikipedia)
Everyone knows a bass or a pickerel has a hard time ignoring a properly presented frog pattern, but panfish? You can make the argument that most adult frogs are too big of a prey item to be eaten by most panfish. However, there are smaller species of frogs whose habitats mix with that of panfish. In my area, the Northern Cricket Frog is one such example. While technically a tree frog, it does not take to the branches but prefers a more aquatic existence. They are often found along the muddy banks of ponds and slow-moving streams. As an adult, they range in size from three-quarters of an inch to an inch and a half, which firmly puts them in the size range of something big bluegill would try to eat.
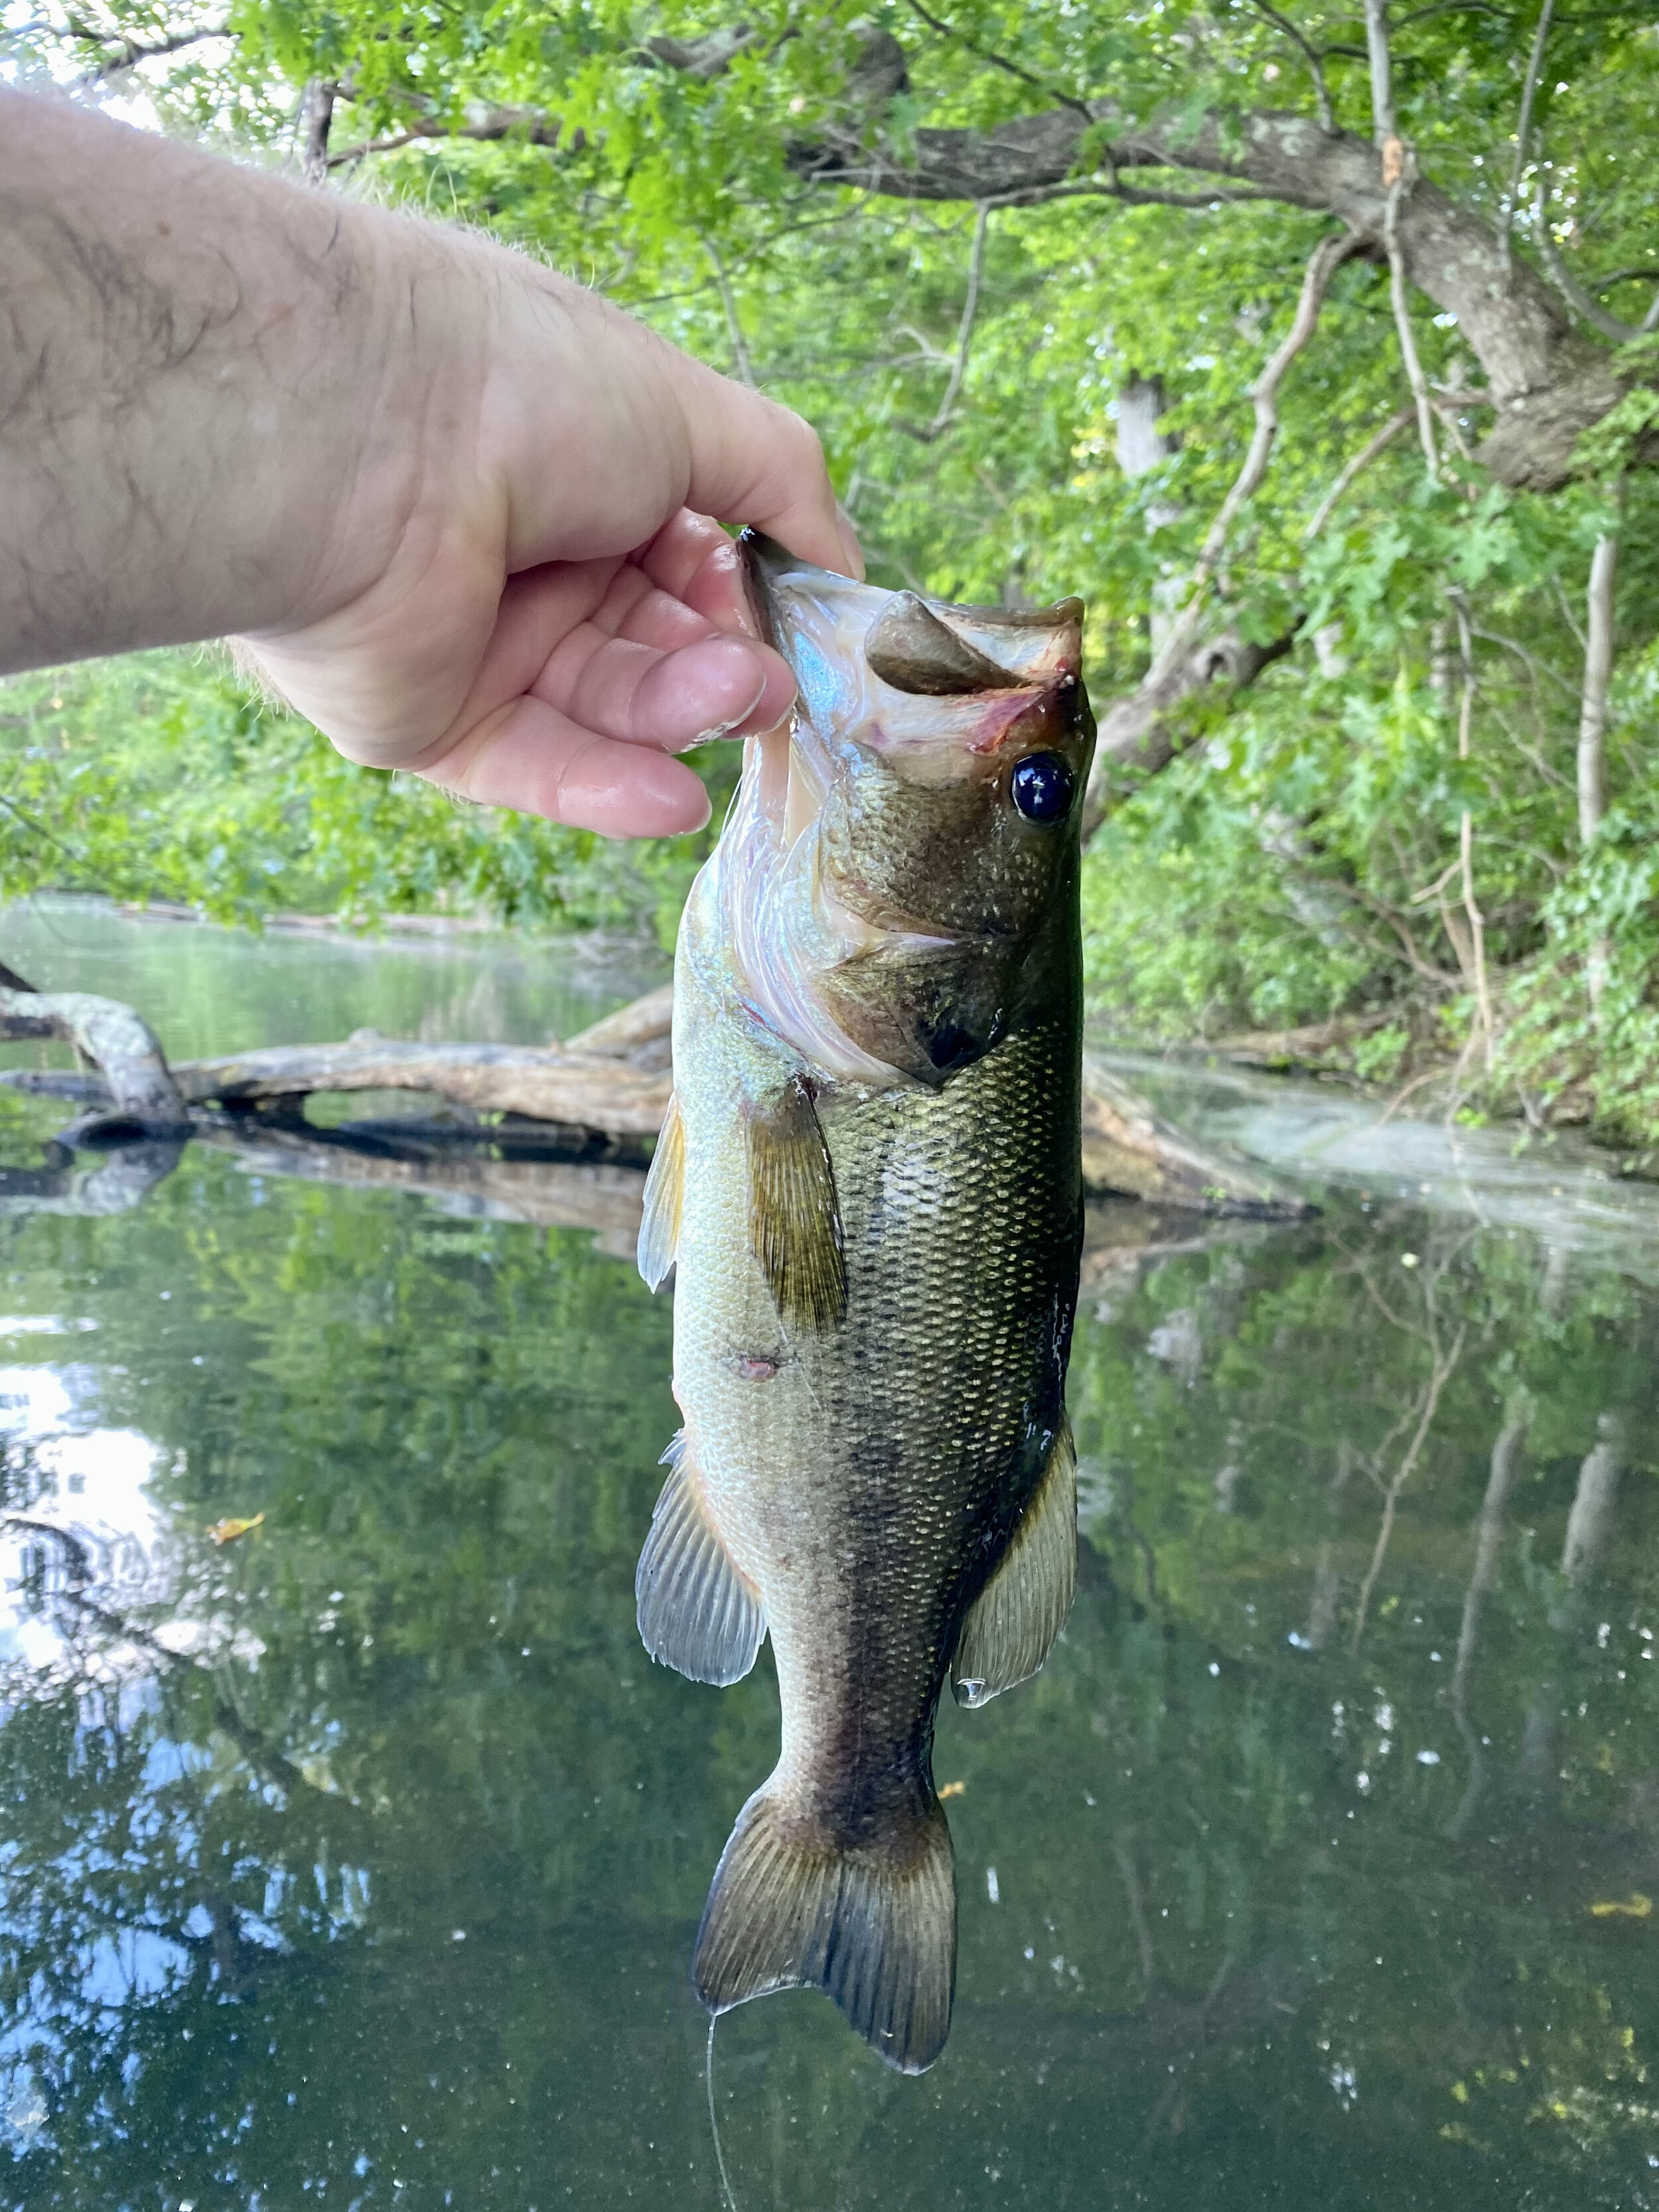
Smaller bass readily take frog patterns meant for panfish! Fish this size may not be considered trophies but they are a blast on a three weight!
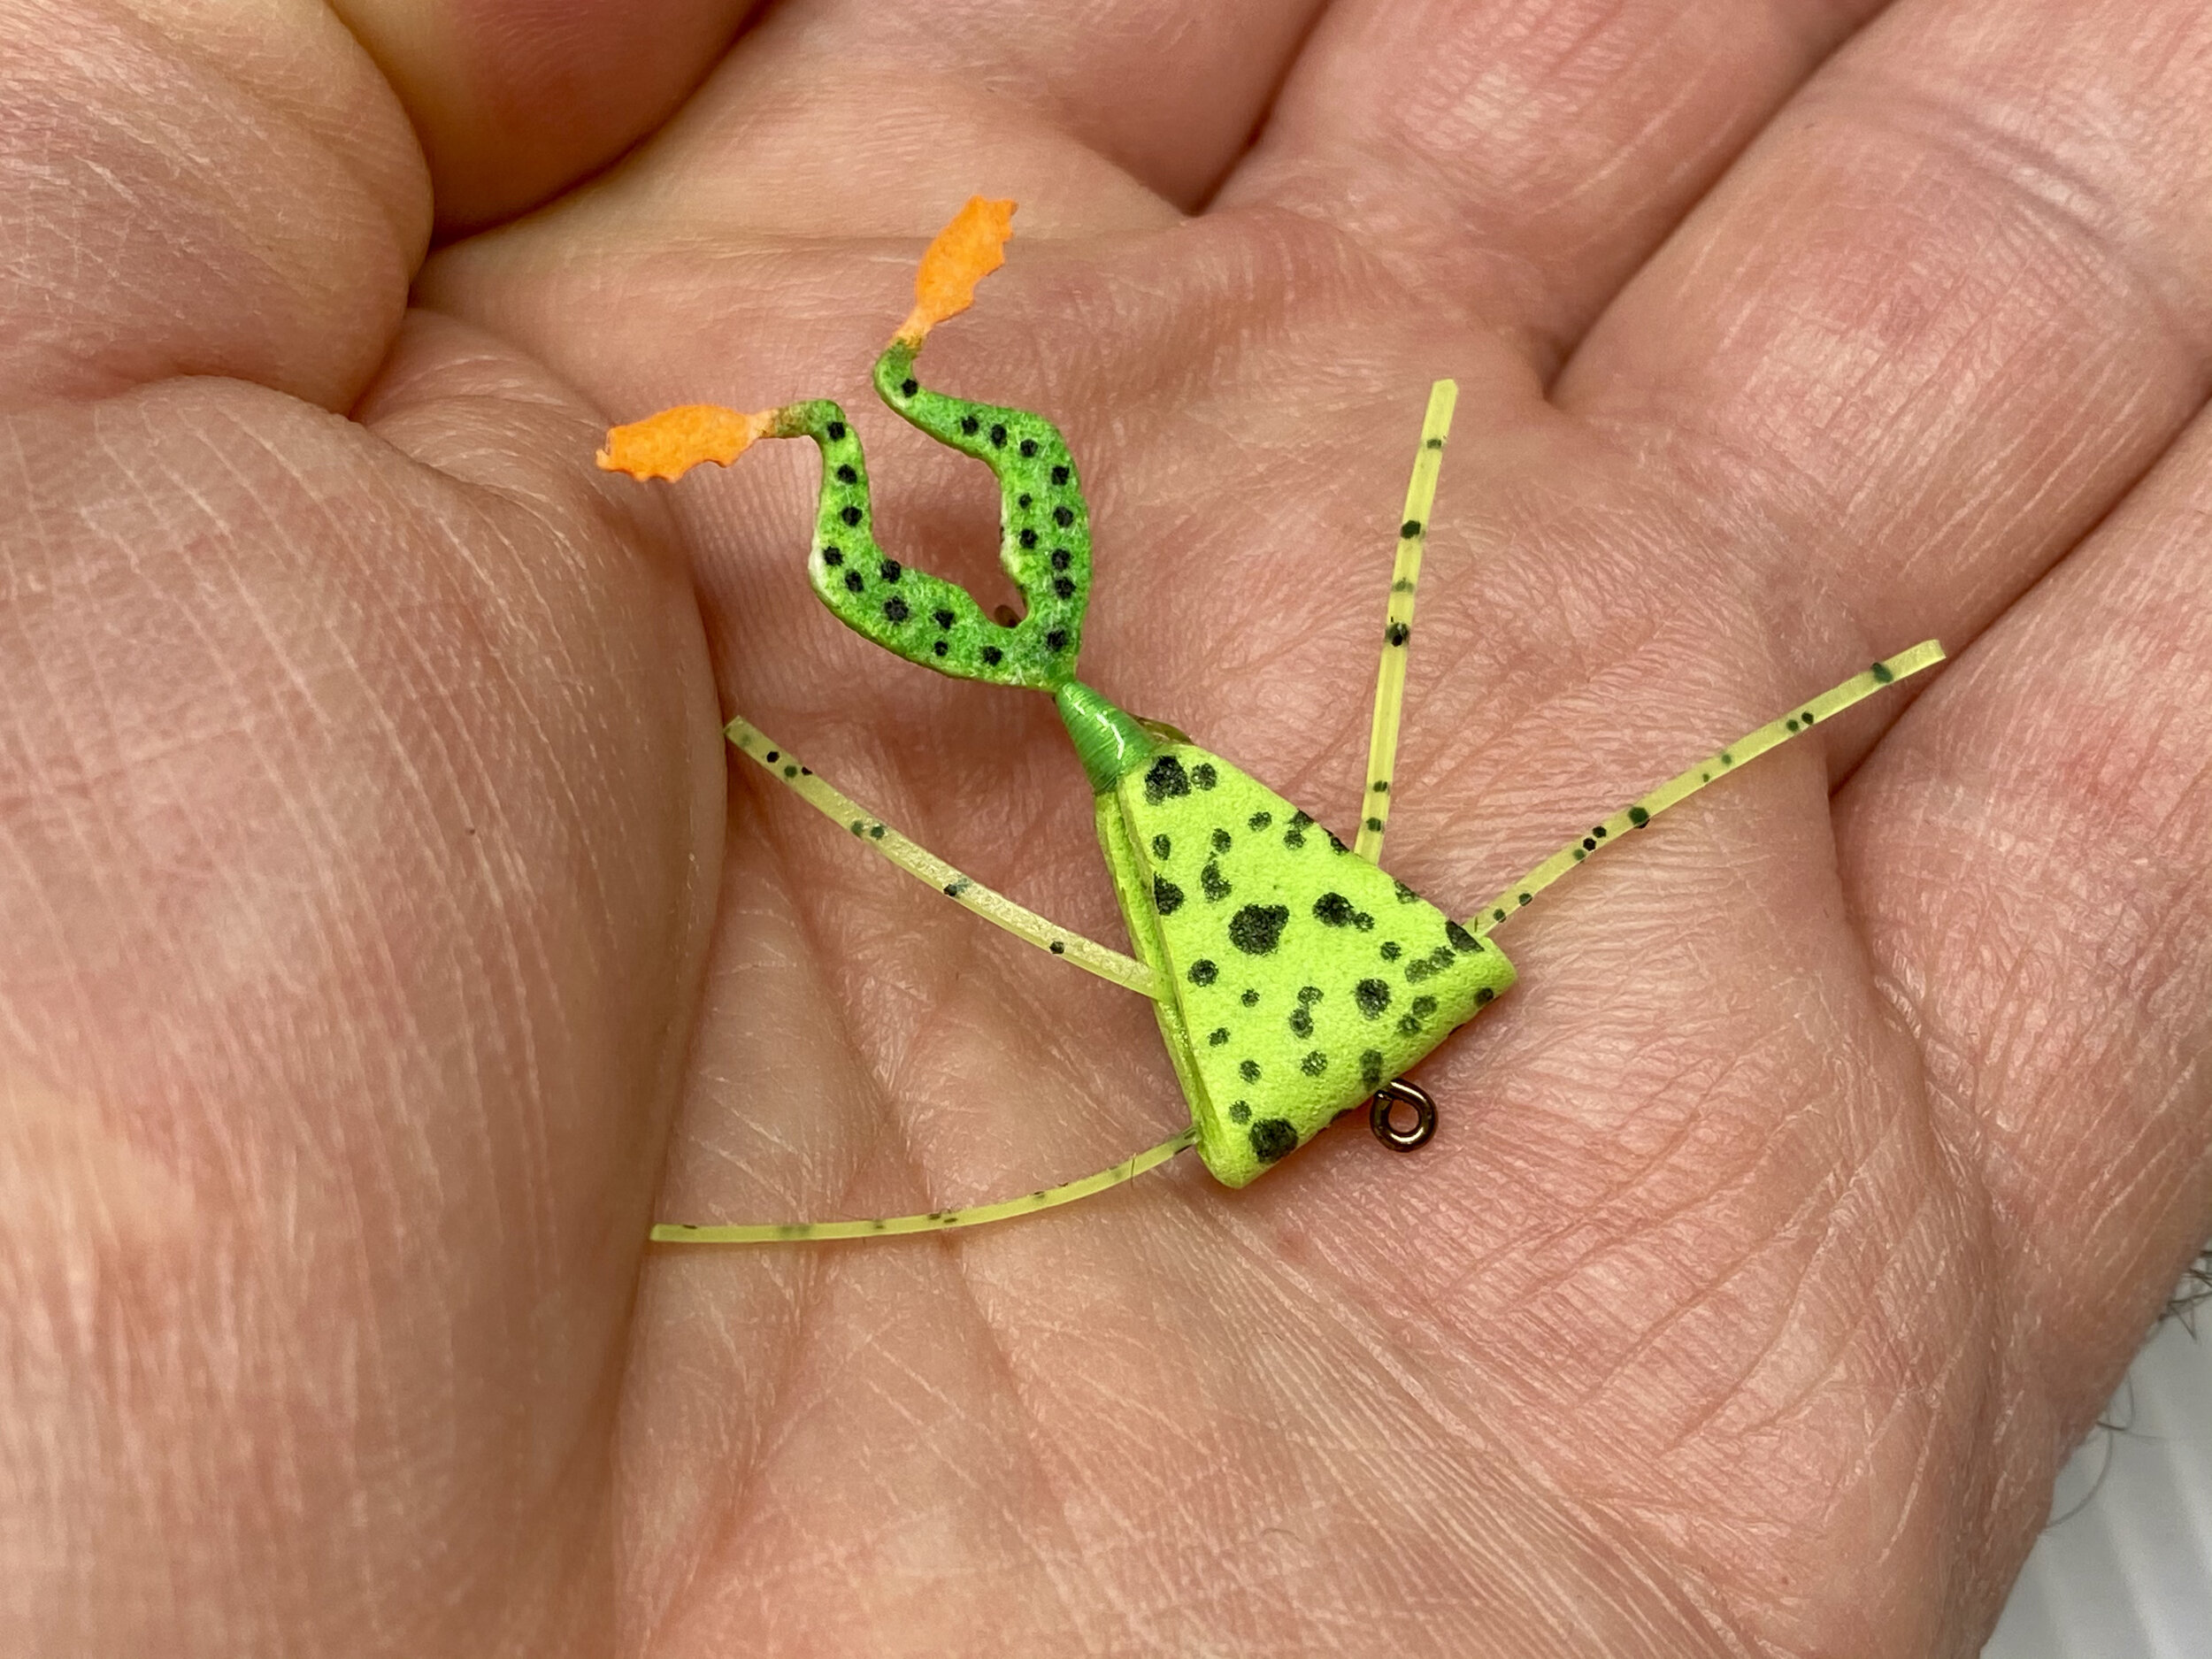
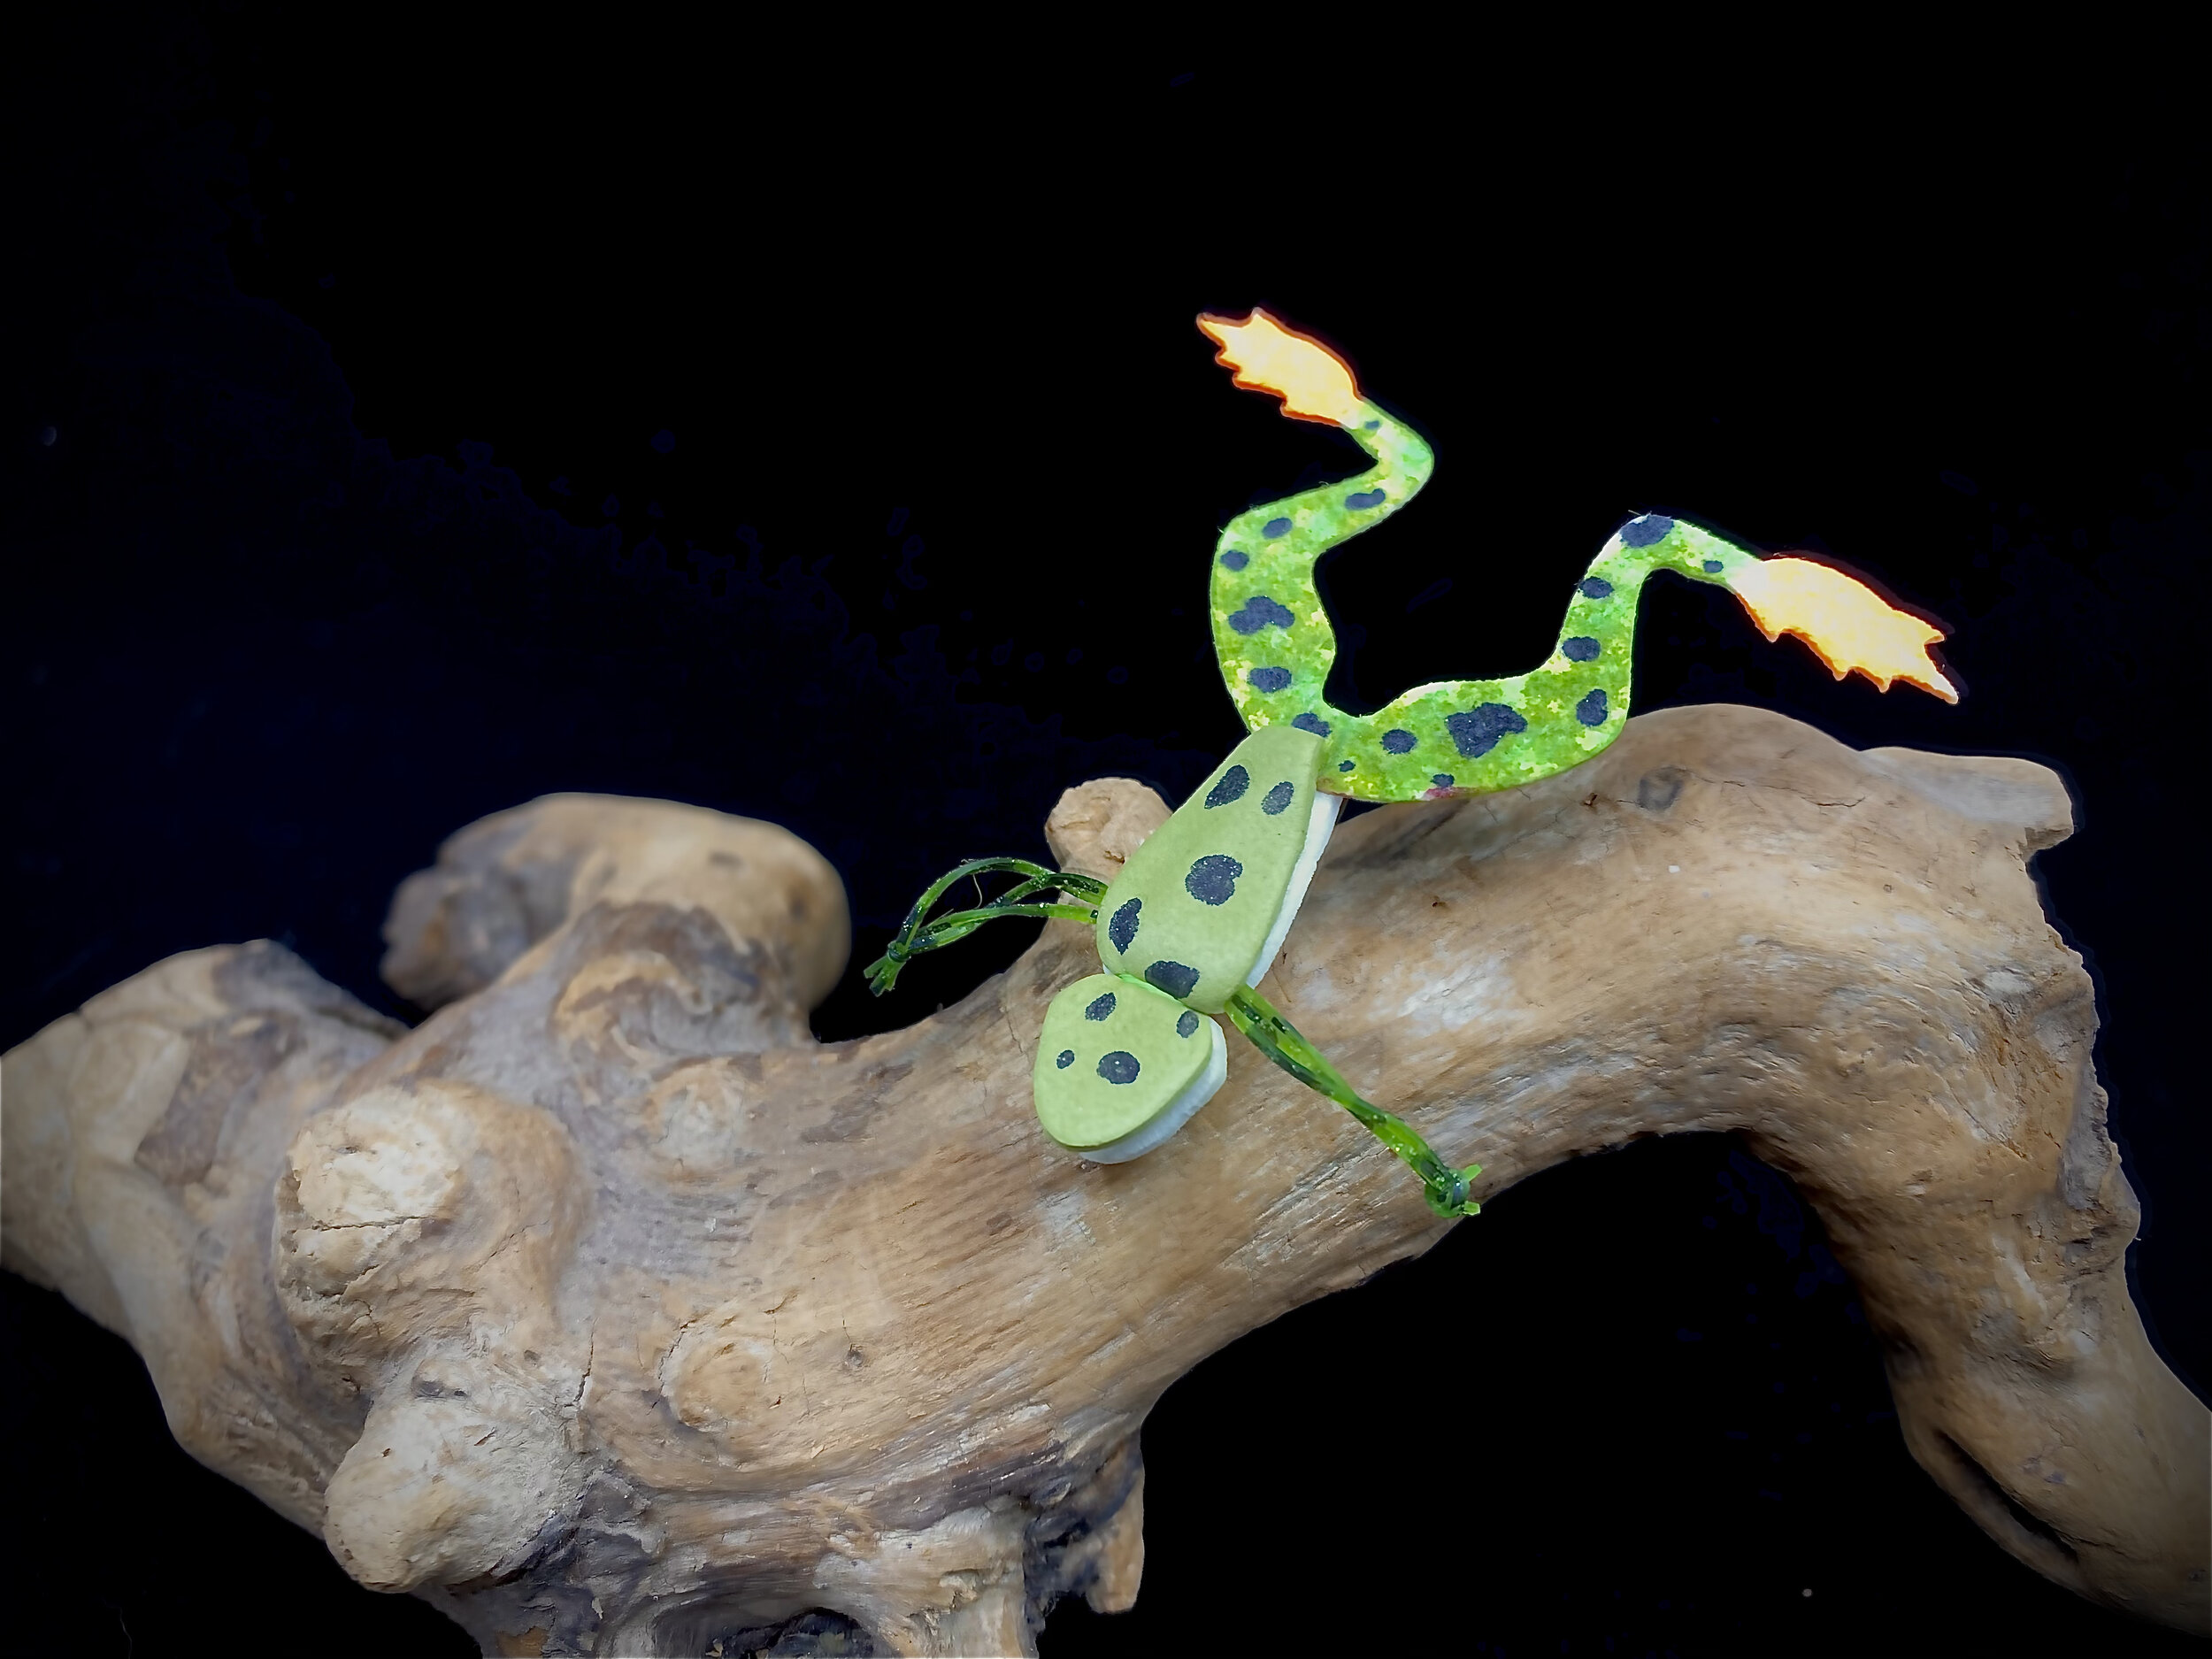
If you search the pages of this blog, you will find several small frog patterns that I tie and fish exclusively for panfish. Most are created using a foam or preformed body. The fly pattern in today's post has been teased in a few recent posts and on social media. Each time I show a picture of it, I receive messages and emails requesting more information on the pattern, so I figure it is high time I share it with the world.
The Wee Fog is an easy pattern to tie and a killer panfish pattern.
This pattern is tied using flat foam. I have tied small frog patterns using flat foam in the past but have never been entirely satisfied with them. Thin 2mm foam does not have the bulk needed to imitate a chunky little frog, and the thicker foam I have worked with in the past was tough to work with on the small scale in which these flies are tied.
The 4.5mm flat foam offered by Semperfli is the perfect foam for tying the Wee Frog.
After joining Semperfli's team of fly tiers, I was introduced to a new type of foam. Semperfli's flat foam is a closed-cell foam, but the air pockets or cells are larger than what is found in most fly tyers foam. This characteristic means the foam compresses easily. Their foam is also remarkably strong and resists tearing quite well. Because it compresses so well, I can use thicker foam, in this case 4.5mm, to create a frog body on hooks as small as a size 12. Combine a body made from this thick foam and Pat Cohen's Creature Frog Legs; you have the perfect panfish-sized frog pattern.
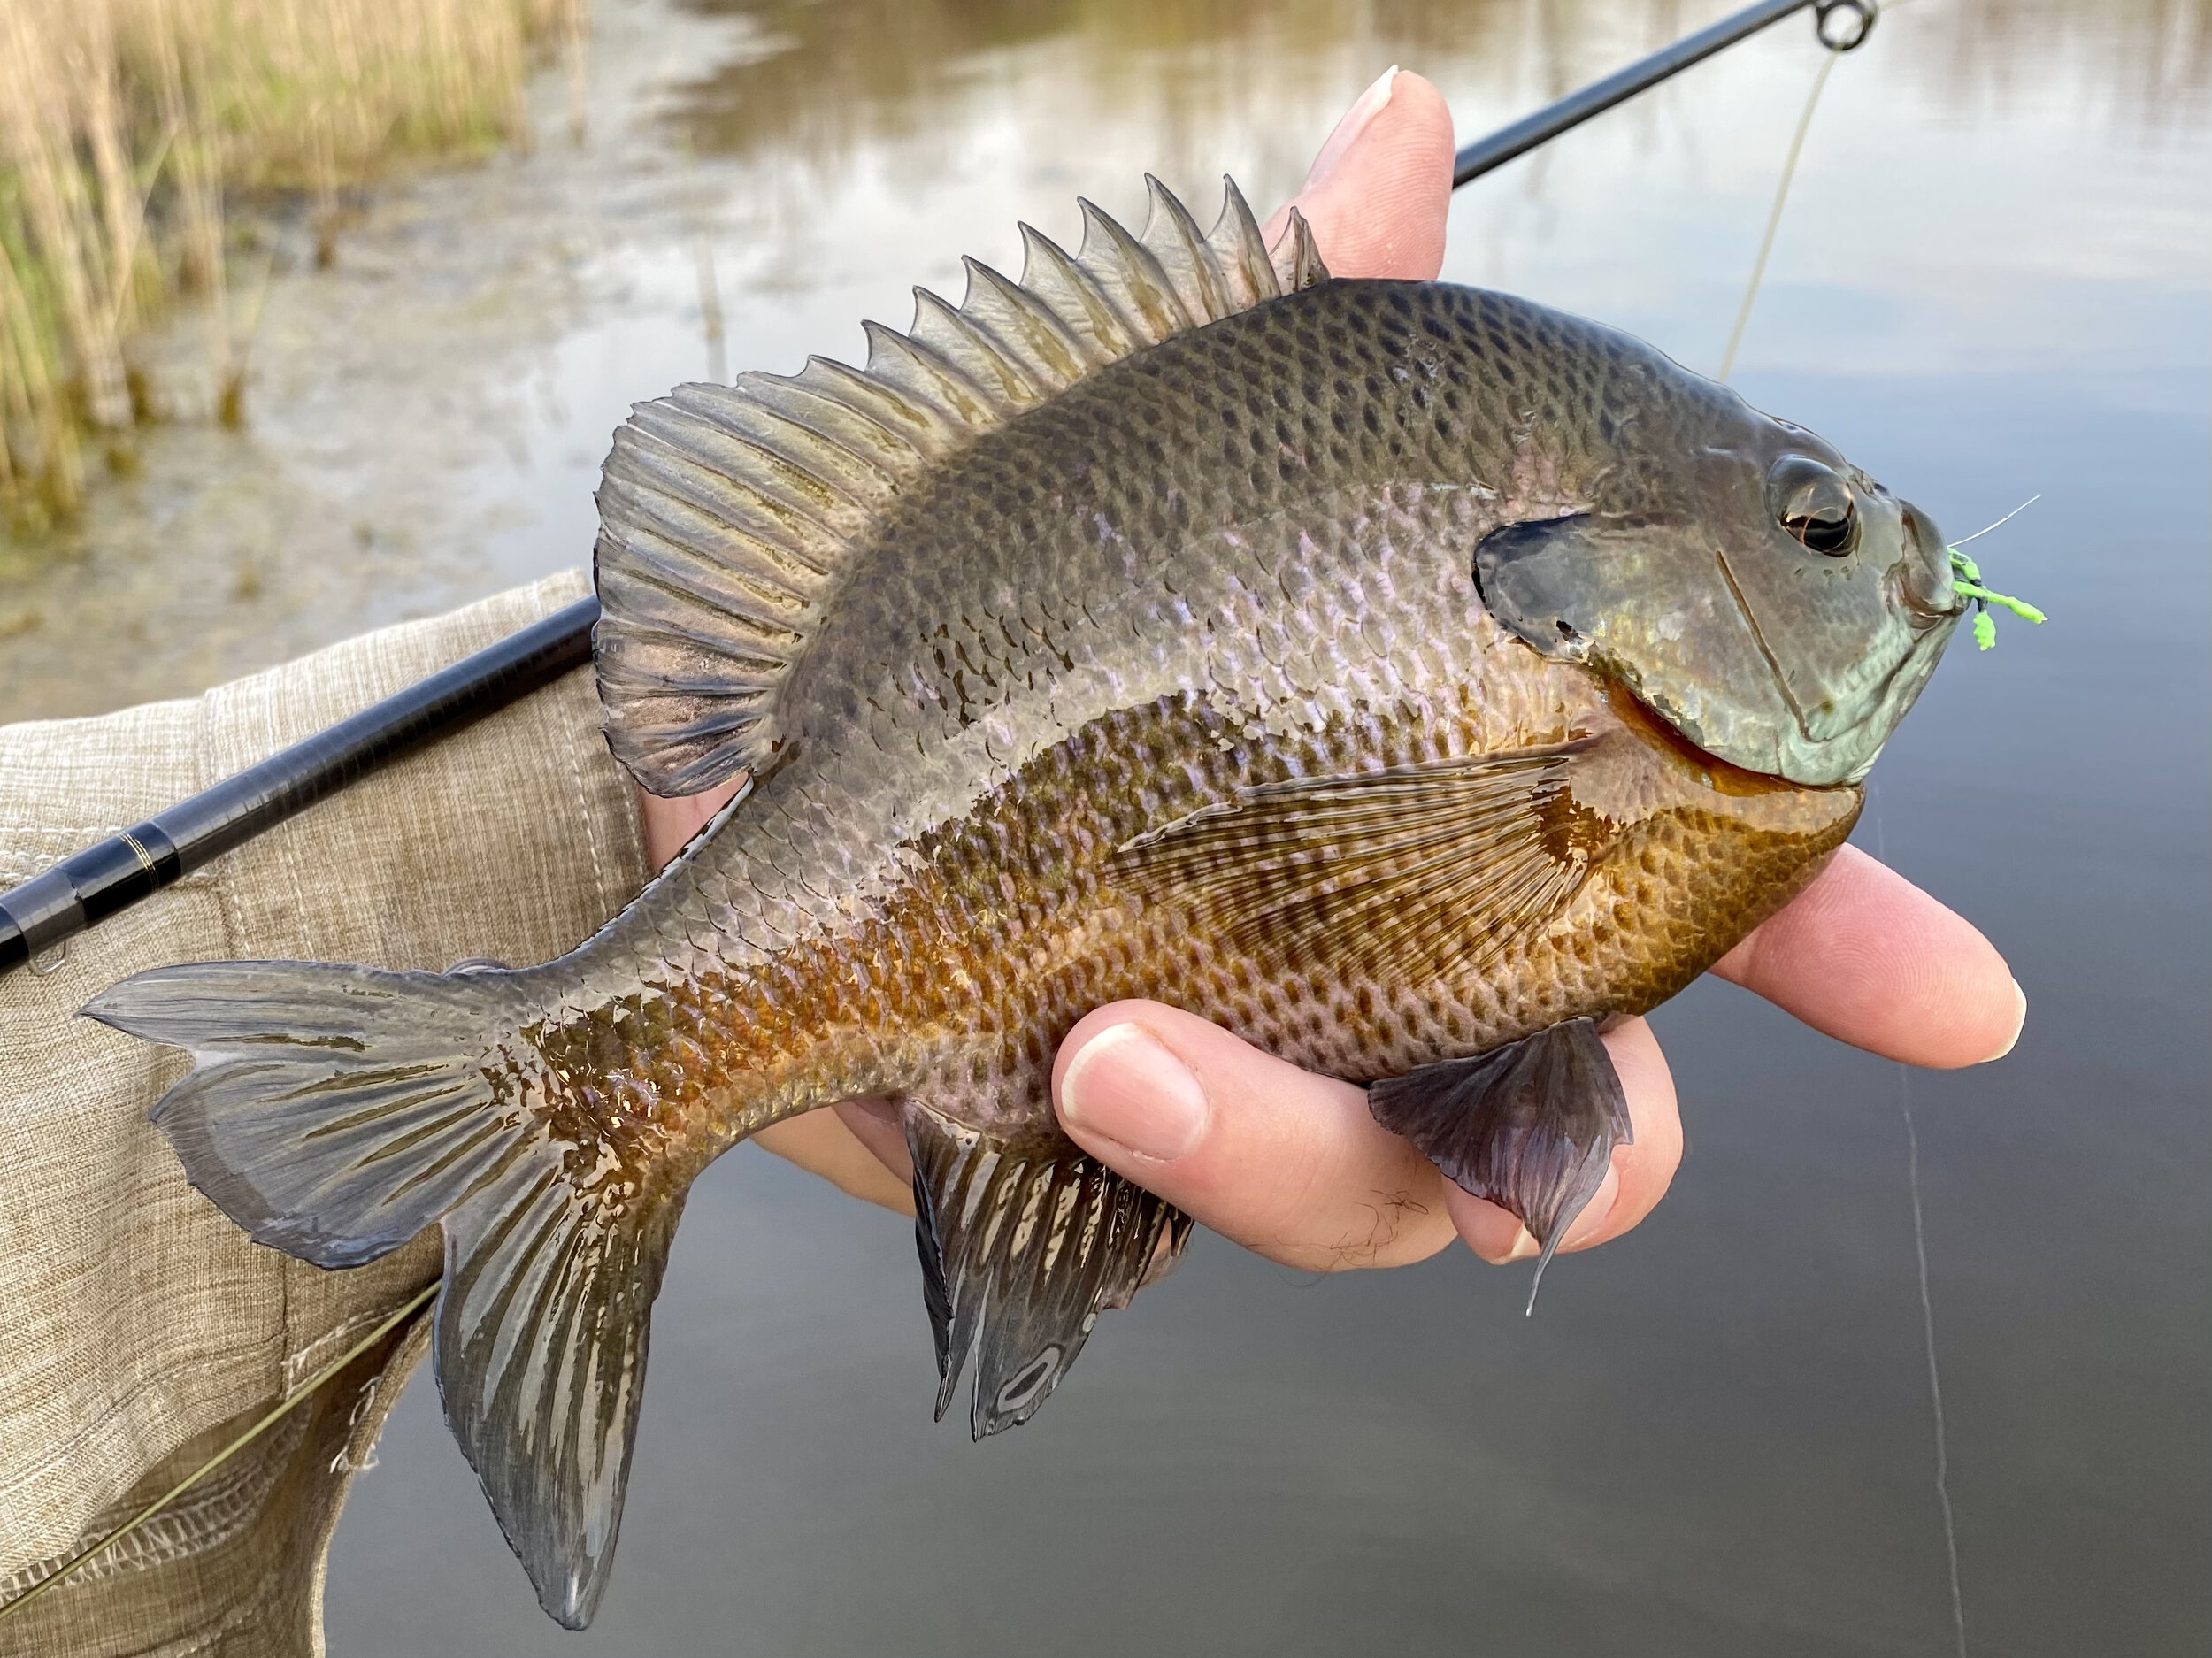
At a inch and a quarter long this fly is the perfect size for large panfish.
You could tie the fly very simply with just those two materials, but I like to add an underbody that adds a little sparkle and movement by using a material like Semperfli Straggle String or Straggle Legs. It gives the fly a finished appearance along with added color, movement, and flash. Rubber legs are a must because a topwater bluegill fly without rubber legs doesn't feel right.
An underbody of Semperfli Straggle String or Straggle Legs adds flash, movement and color to the pattern.
I have been anxiously awaiting the arrival of warmer weather and the return of my favorite pastime, topwater fishing for panfish. There is something about bluegill taking a fly off the surface that puts a smile on my face every time. Finally, it appears my wait is over, and mother nature has warmed things up to the point that my favorite fish have returned to the shallows and a looking up for their next meal.
Panfish this size have no difficulty eating the Wee Frog. This fly was completely swallowed by this bluegill.
One of the things I love about fishing tiny frog patterns for panfish is the take. Bluegills often slide under a topwater fly and suck it off the surface with an audible slurp. Not the case with a frog pattern. They seem to know that this type of prey can elude them if they're not careful, and they grab them off the surface with a vengeance, more like the take of a bass. I am often surprised when a big bluegill comes to hand, mistaking the violent take for a bass.
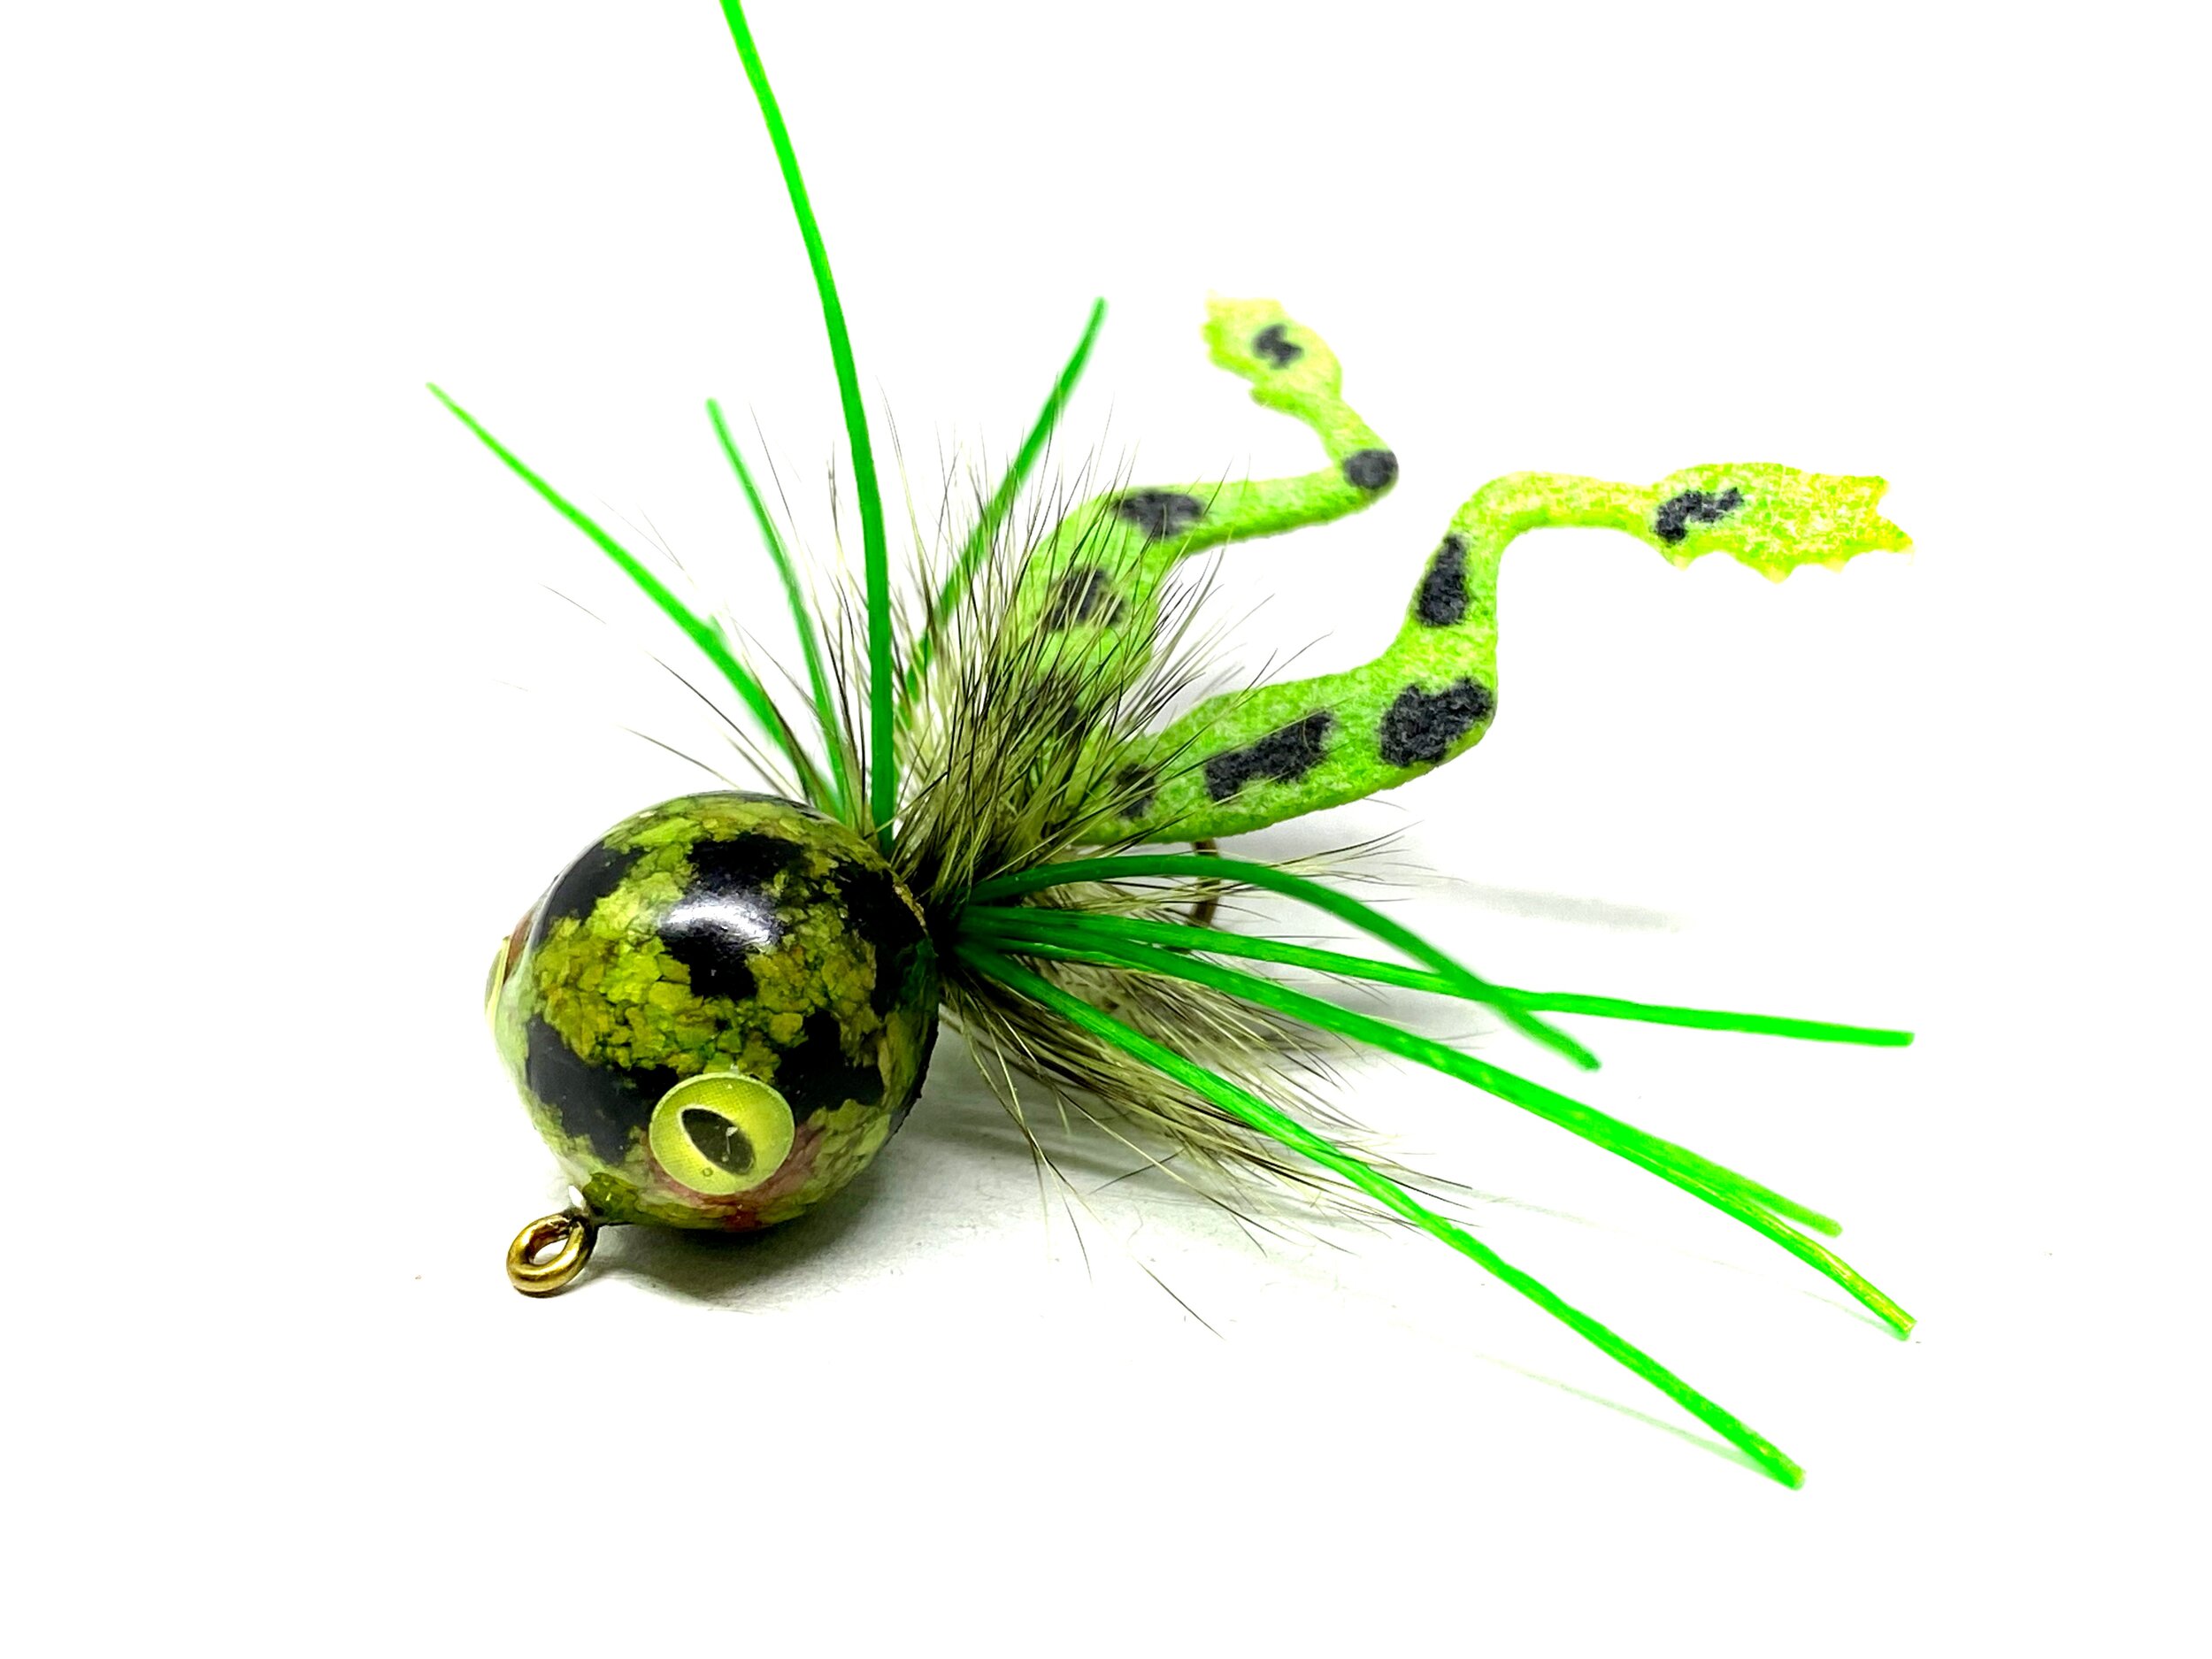
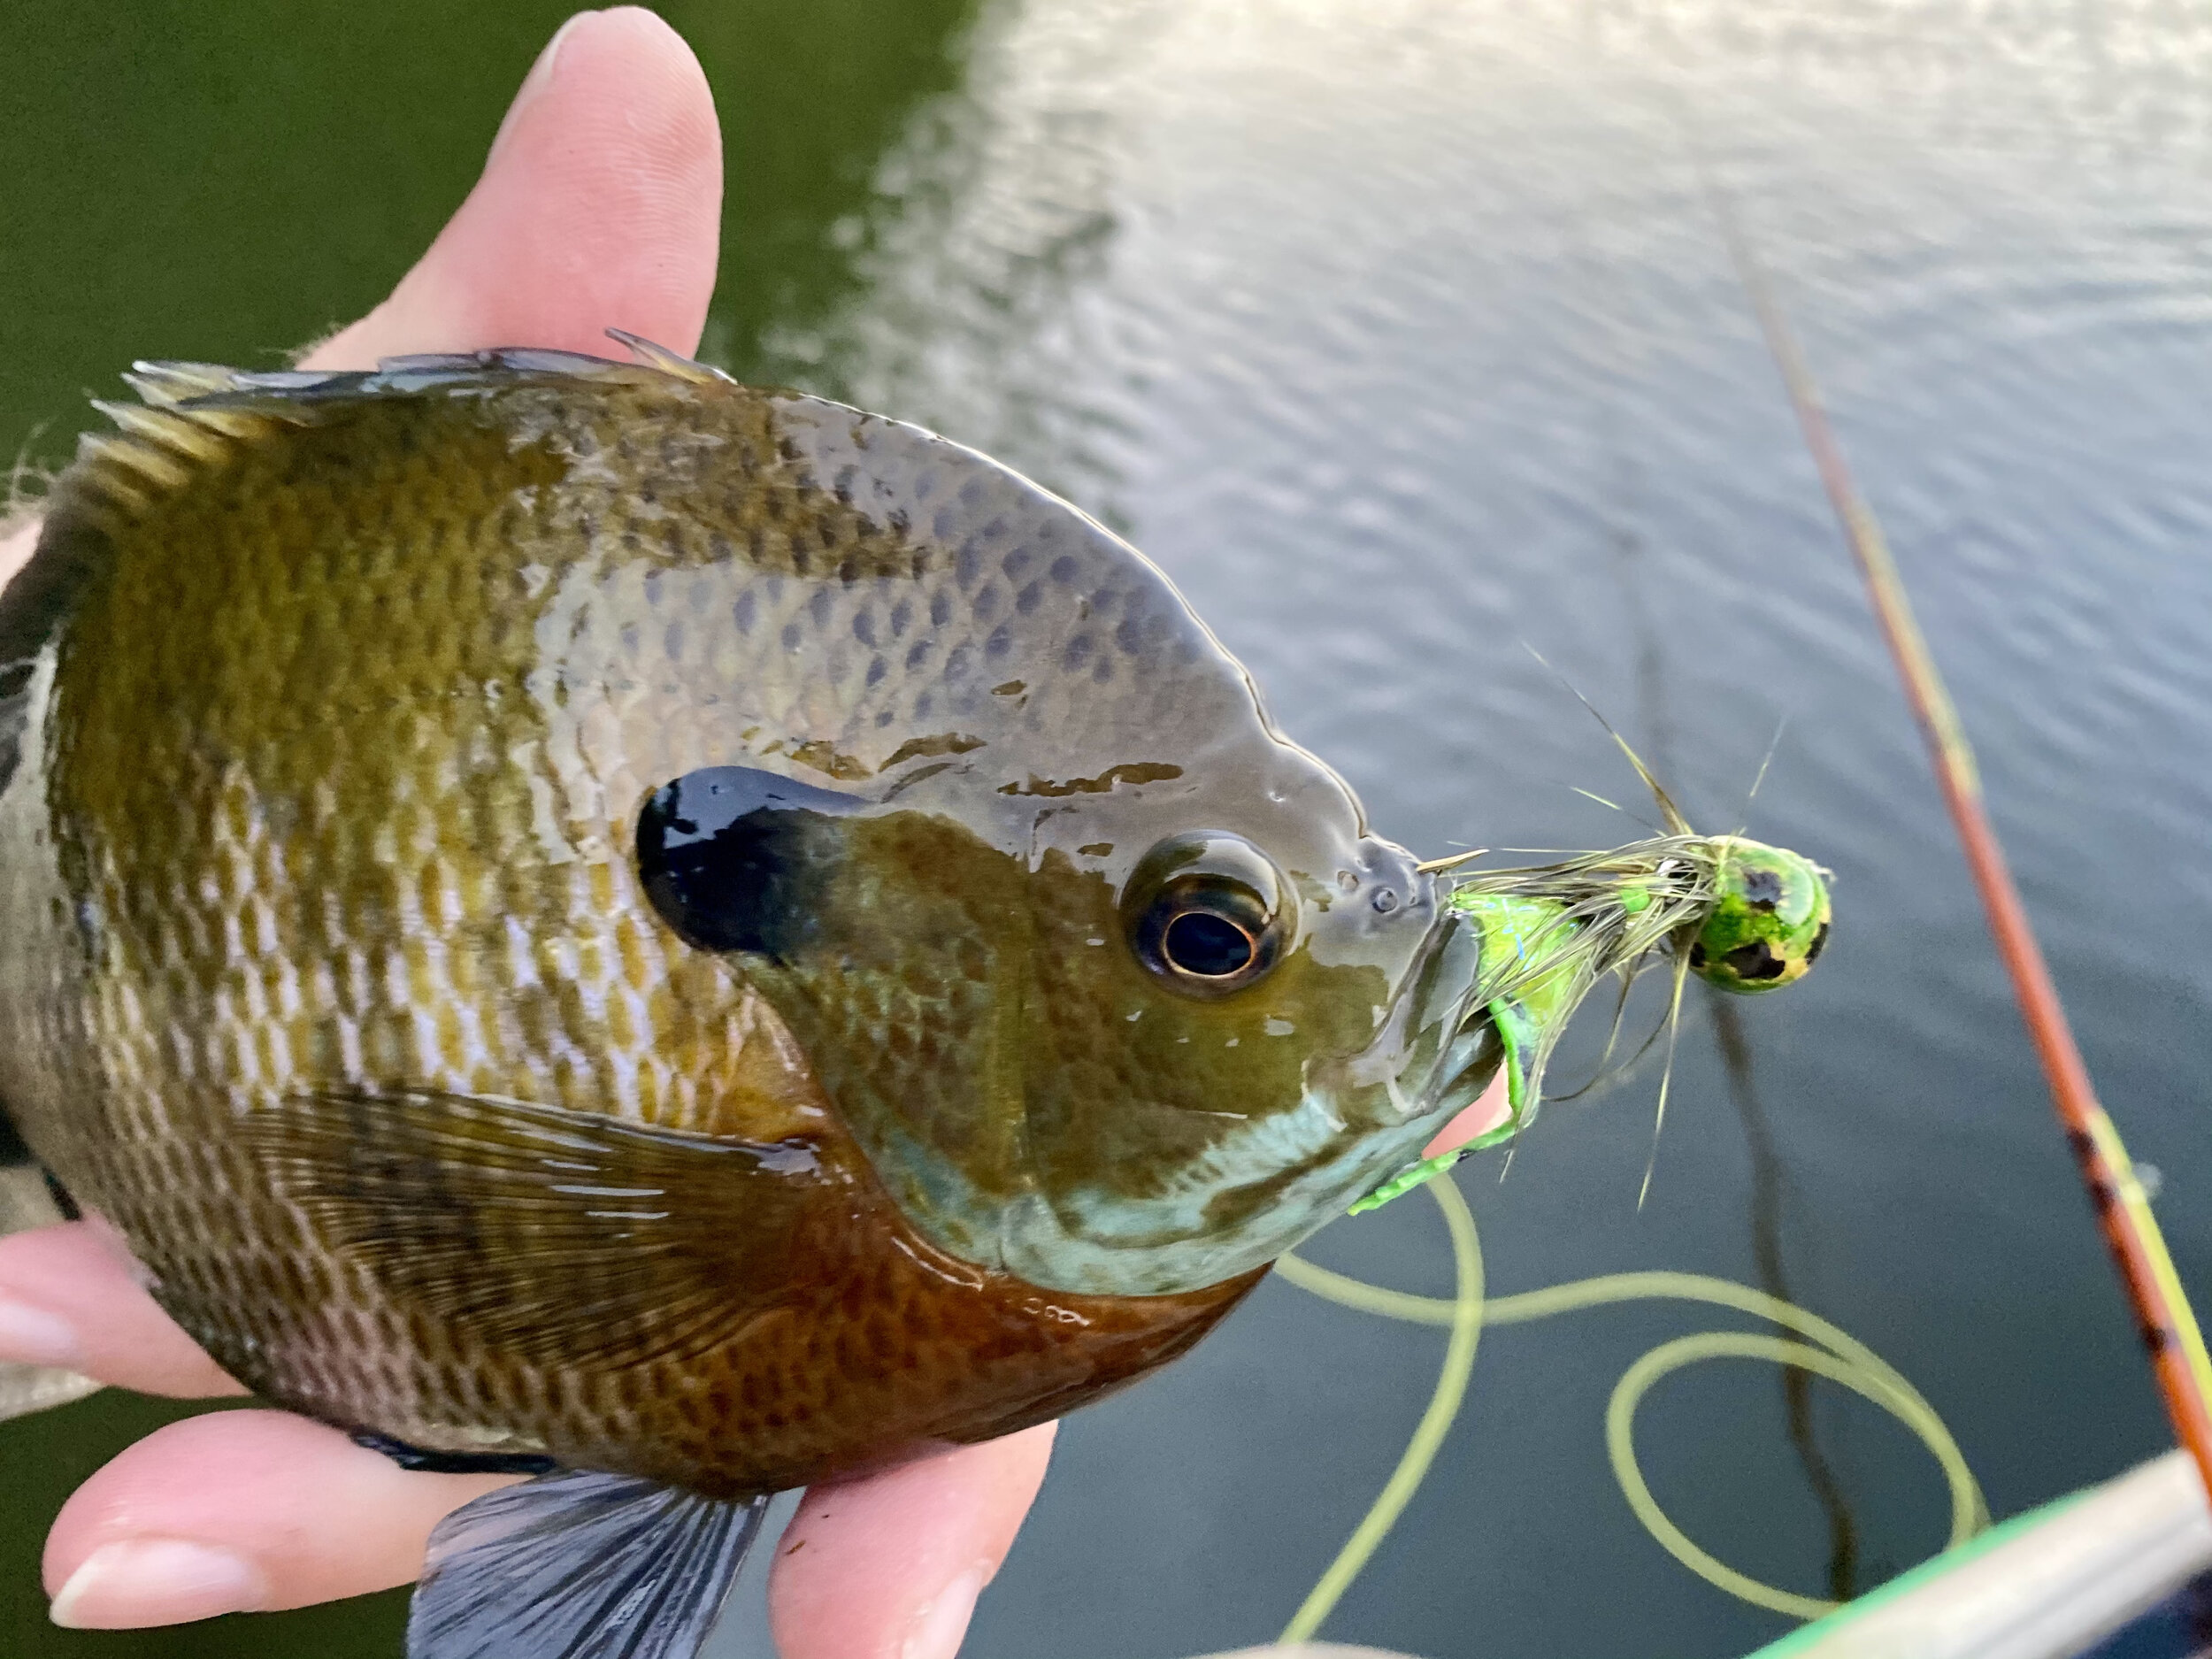
The Melon Head Frog was originally tied for bass but I catch plenty of big bluegills on them.
Fishing Frog Patterns
When fishing frog patterns, I prefer to cast parallel to the bank instead of casting out into the middle of the pond. Frogs are found along the bank, seldom straying far from it, and this is where I find these flies to be most effective. My favorite way to fish them is to slip on a pair of hip boots or waders and walk out a short distance from the shoreline. I then slowly make my way along the shore, casting ahead of me as I move. My first cast will put the fly as close to the bank as possible. I then fan out my casts until I reach a point 10 -15 feet from shore. I will then move down the shoreline a short distance and repeat the process. Fishing from a float tube or kayak is also a good option for this type of fishing as you can bring the watercraft close to the shoreline and use the same method. Fishing from the bank is usually problematic as there are generally too many obstructions to grab a fly line or rid tip.
Pickerel are very fond of frog patterns, so much so I avoid using them for panfish in waters where there are good numbers of them to keep from losing too many flies to these toothy predators.
A plus side to fishing frog patterns for panfish is that you will attract predators like bass and pickerel. Even though a size 12 frog is not much of a meal for a bass, they seem to recognize an easy snack and seldom pass it up. I have found that pickerel are so fond of these tiny frogs that I refrain from fishing them in waters where they are present in good numbers as I lose far too many flies to these toothy predators. If tiny frog patterns are not part of your topwater panfish arsenal, they should be. Give them a try; you won't be disappointed!
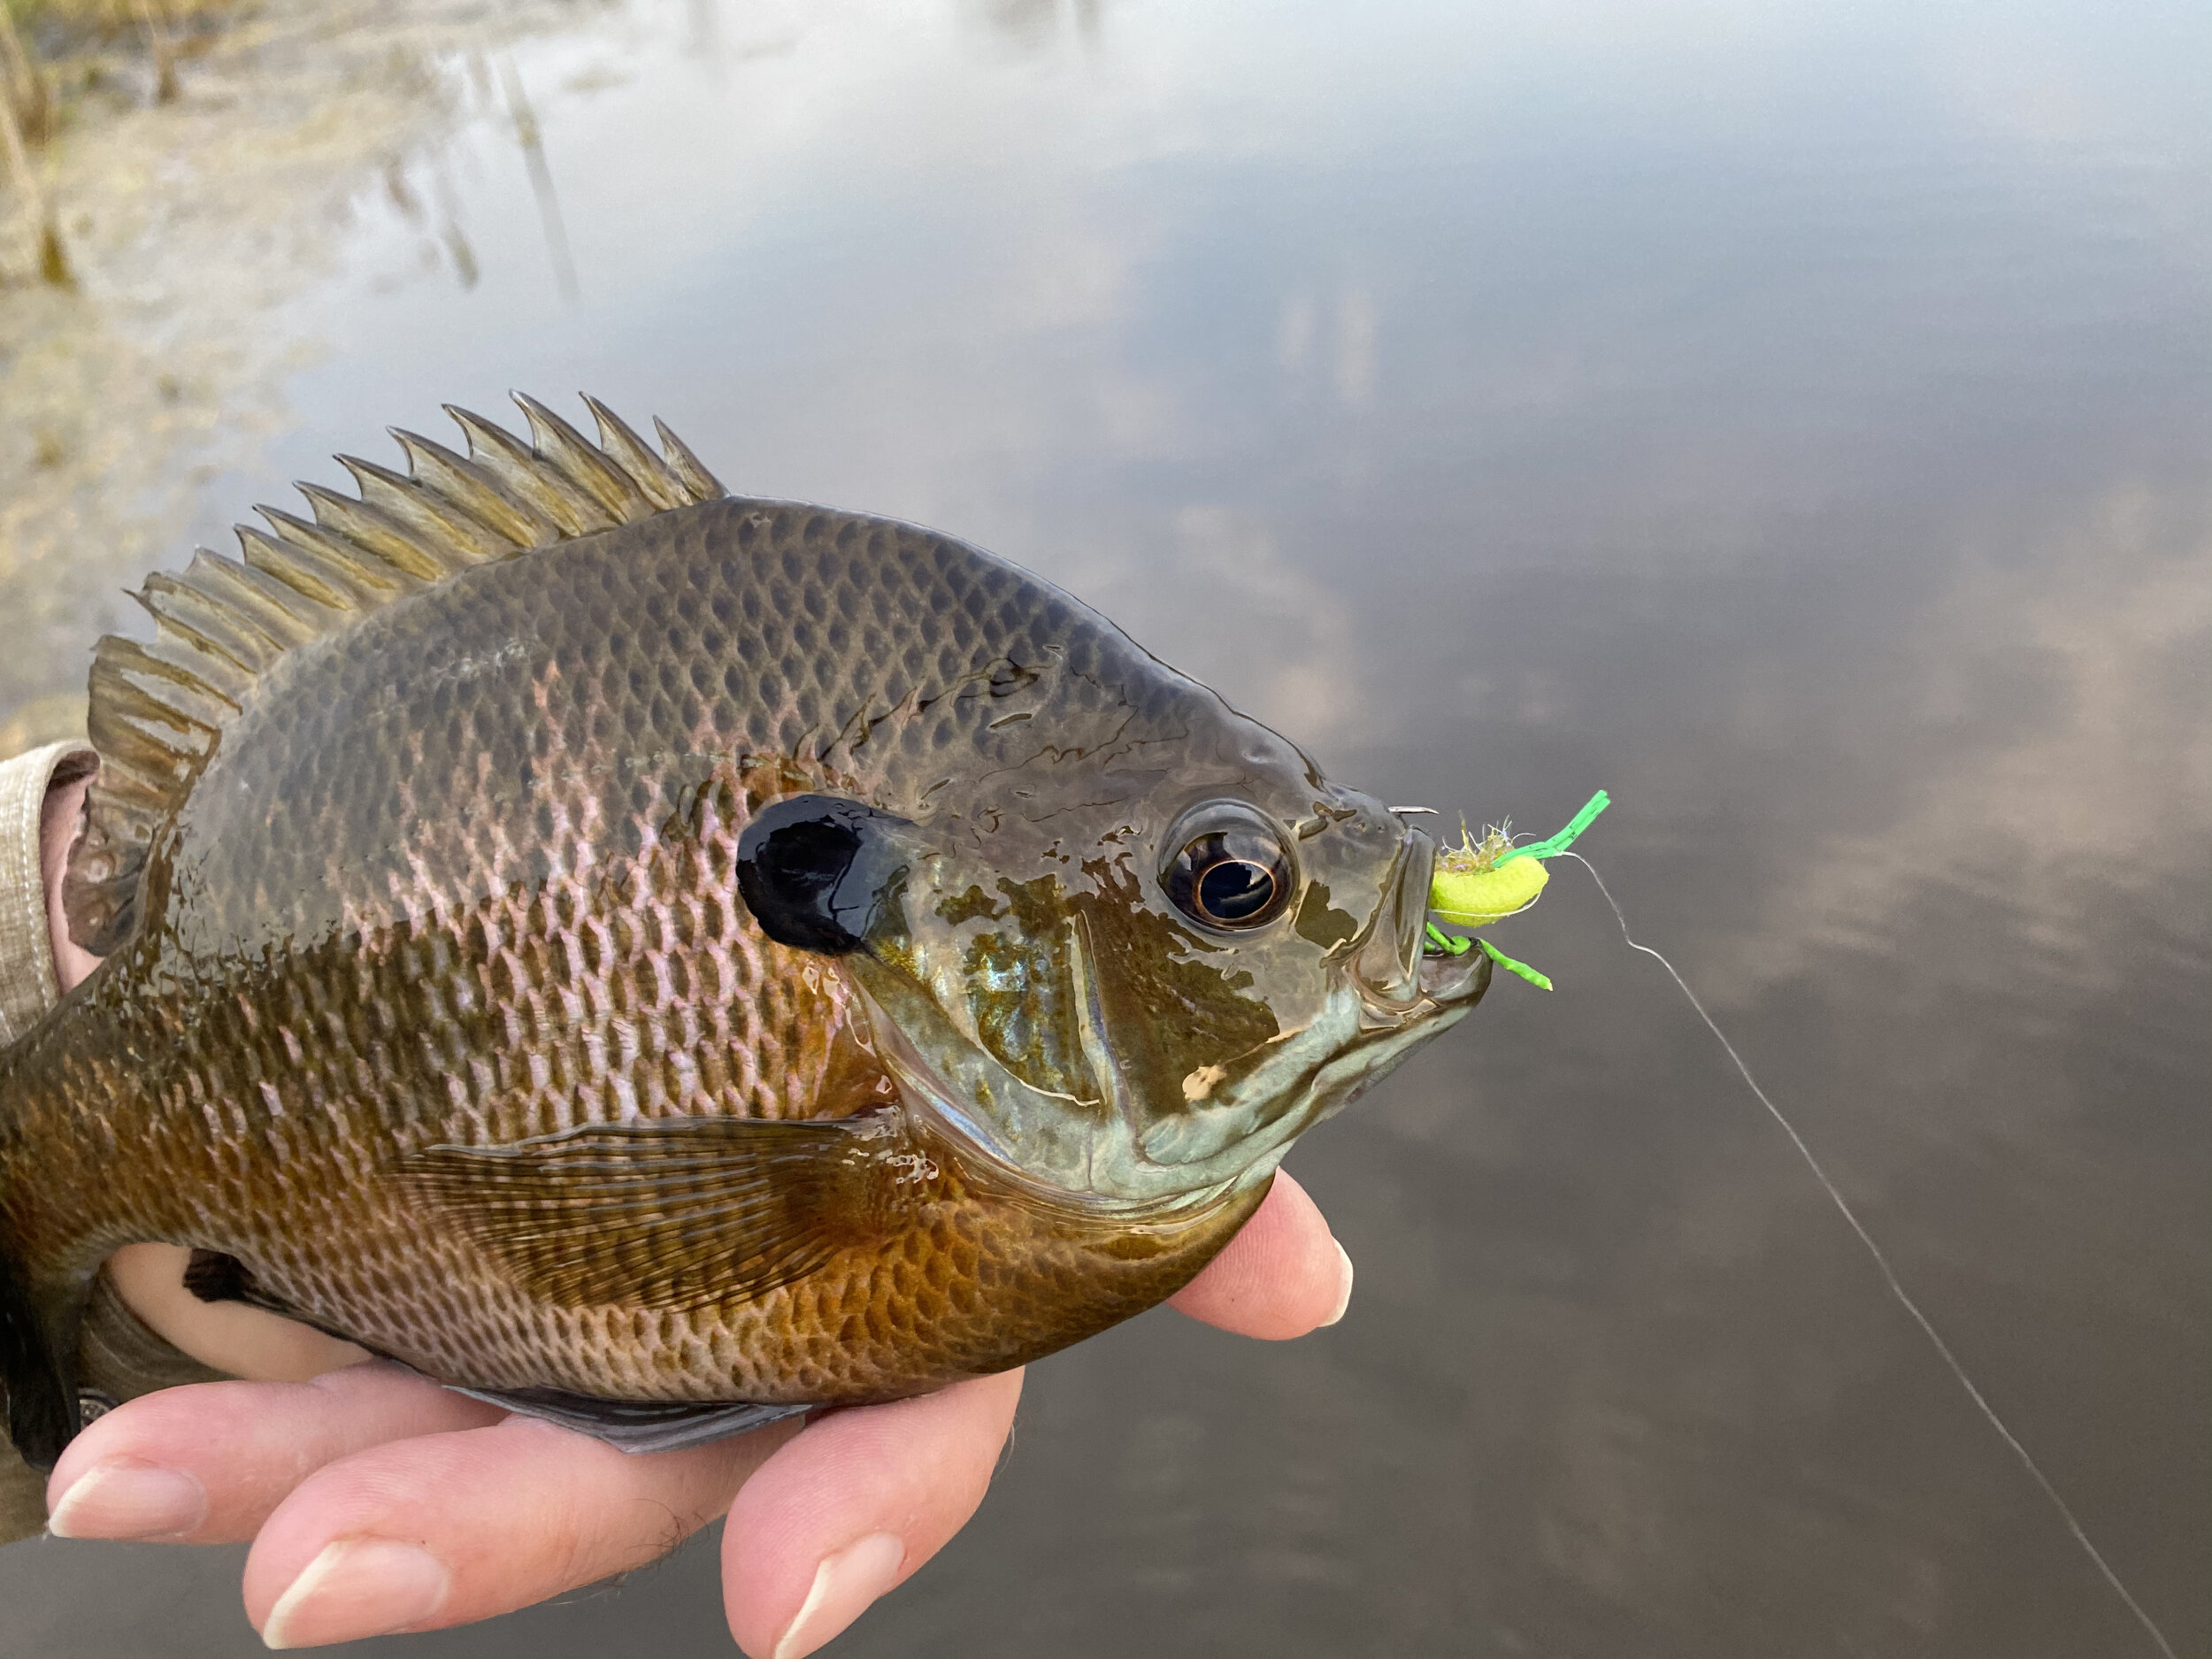
Panfish take frog patterns off the surface with a violent take.
Pattern Recipe:
Hook: Size 10 or 12 Firehole 618 or comparable hook
Thread: 6/0 Semperfli Classic Waxed Thread in the color of choice
Frog Legs: Cohen’s Creature Fog Legs size micro or mini depending on hook used
Underbody: Semperfli Straggle String or Straggle Legs
Legs: Round Rubber
Body: Semperfli 4.5mm Flat Foam in the color of choice cut in a teardrop shape using a foam cutter or trimmed by hand with scissors, craft knife, etc.
Thread Treatment: Solarez Bone Dry UV Resin or Solarez Bone Dry Plus UV Resin
To create the body a large spider body foam cutter is used though the shape can easily be cut out by hand.
Tying Instructions:
The first step is to prepare the body. You want an appropriately sized teardrop shape piece of foam. You can cut the shape out by hand, but I like using a spider body foam cutter. The largest size spider body cutter produces a perfectly sized body for a size 12 frog.
Start your thread on the hook shank and wrap it down to the bend of the hook. At the bend, tie in your frog legs. Note: I add color to the legs before tying them in. I get the best results using fabric markers as the colors will not fade even after repeated dunkings in the water.
Optional: Before tying in the frog legs, you can add a small loop of stiff monofilament. This loop may help keep the frog legs from fouling on the hook shank (something that is seldom a problem on a fly this small), and it gives you a convenient tie-in point for adding a dropper. The legs are then added on top of the loop.
After tying in the frog legs, I bring the thread back towards the eye, stopping an eye length or two from the front of the hook.
Capture a small piece of the wide end of the foam body with thread wraps and lash it down to the front of the hook. When working with foam, don't use a lot of pressure on the first few thread wraps to avoid cutting the foam. Lightly trap down the foam with a wrap or two, then increase the thread pressure with subsequent wraps to further compress and secure the foam. Semperfli foam excels here as it compresses easily without bulk.
Once the front of the body is tied down, tie in a short piece of Straggle String right at the tie-in point for the foam.
Leaving the Straggle String in place, advance the thread to a point mid-shank and tie in a pair of rubber legs, bringing the thread back to the bend once the legs are secured.
Wind the Straggle String down the hook shank, careful not to tie down the rubber leg material. When you reach the frog legs' tie-in point, you can tie it off and cut away the excess.
The final step is to fold the body back and lash it down. Once secured, trim away excess foam (if using a foam cutter there will be a small tab of foam remaining), whip finish, and cut away the thread. A drop of thin UV Resin like Solarez Bone Dry protects the thread and keeps everything in place.
Note: There is probably no need to color the body as the fish likely only see the underside of the fly. Despite that, I always add some froggy-looking spots to the fly because I think they look better, but I doubt the fish care. I usually add custom colors once the fly is completed.


